Fly Stitch is also known as
Puntada de Mosca Batida [ES], Umwickelter Fliegenstich [DE], Ponto de Mosca Enrolado [PT].
How to do the Whipped Fly Stitch
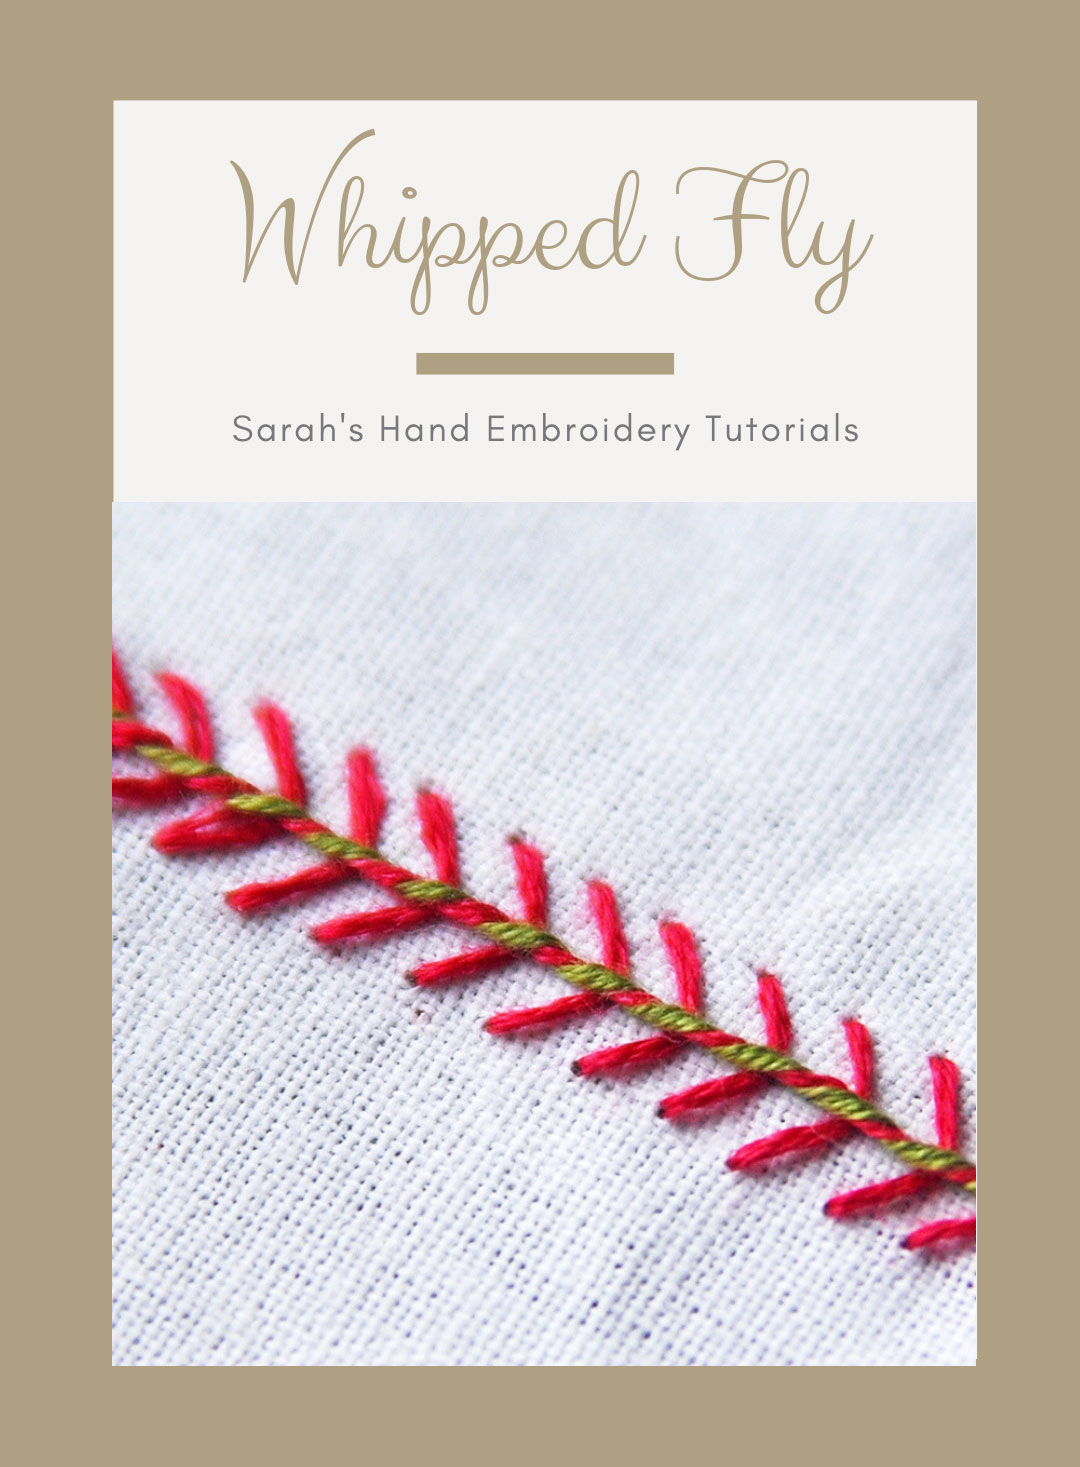
This is a simple version of how a row of Fly Stitch can be decorated using a contrasting colored thread. To do this stitch, you need to know how to do the Fly Stitch.
 |
 |
| Fig 1: First make a vertical row of the Fly Stitch. To whip, take a contrasting thread and start from the tip of the first tail. Whip the thread around each tail as shown in the illustration. Be careful not to pluck the fabric beneath. | Fig 2: A finished row of Whipped Fly Stitch would appear like this. |
Learn to do Whipped Fly Stitch in 2 minutes!
Related Stitches from the Fly Stitch Family
Learn this stitch and 305 other stitches from our 600-page eBook.


 Sarah has been researching and sharing hand embroidery lessons for over 17 years, making it accessible to everyone around the globe.


Thank you so much for taking time to share these stitches with us. It is so helpful and I have learned so much.
I have it bookmarked and come back often :O)
Hi,
I did fly stitch on tunic. Waiting for your opinion.
Thanks

Gurmeet
Dear Gurmeet,
Thanks for sharing your work with us. I must say, it looks really nice and not even home stitched! 🙂
Dear Sarah,
Thanks for appreciating my work 🙂
I love this- the way you repeated something simple and beautiful with just a difference in color!
That looks really great!♥️ 👍
Thank you! I love this stitch too!
hi
awesome work.
ur website is very much useful for me.
keep posting
thank you
Hi, I wanted to thank you for your website. I keep coming back to it and am enjoying embroidery.
Hi
I am just loving this site..
Happy that you are enjoying our pages Shruthi. 🙂
Hi sarah,
your tutorial need and simple.it’s is very useful for me..thank you..
gee i never seen so many embroidery stitches before im glad i came across you thank you keep stick around more to learn how to make them wow
🙂
Thank you for sharing your fabulous knowledge of embroidery, I love all your work. So easy to understand and follow your pixs.
Dear Carina,
Happy to know you liked our pages. 🙂