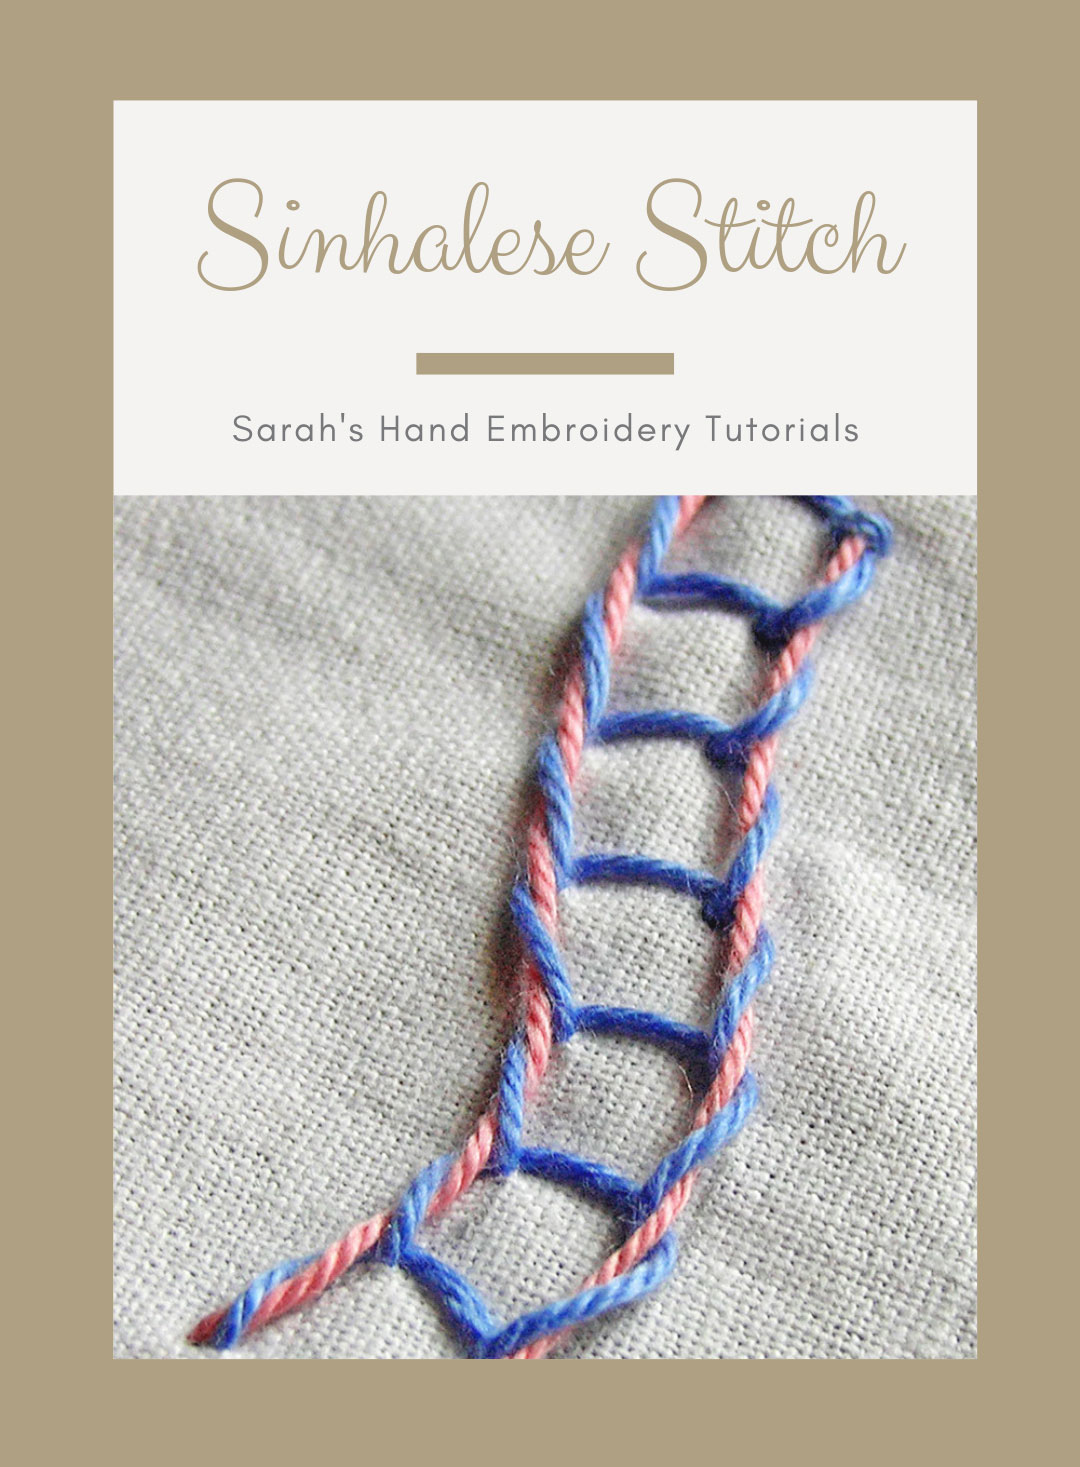
This variation of chain stitch resembles the open chain stitch, but with a ‘twist’. It involves some intertwining of two colored threads to bring the twist effect to this chain stitch.
This stitch can be a little complicated to work with initially, but with little practice, you can handle it well.
I will work between two slightly curved parallel lines to demonstrate this stitch. You need to know the open chain stitch to be able to continue with this tutorial.
 |
 |
| Fig 1: First, bring out threads (pink) from ends of the two stitch lines, X and Y. Leave them open. Now, bring out a different colored thread (blue) from near X, but towards the inside. Then, loop this thread from under the previous open threads, as shown. | Fig 2: Now, take the needle in through B, a point near Y, but the inside. Take it out from C, a point on the stitch line. Then, loop the blue thread from under the needle, as shown. |
 |
 |
| Fig 3: Pull out the needle and tighten it enough so that it holds the pink thread in place. Again, loop the blue thread around the pink thread. | Fig 4: Repeat the process, as you would for open chain stitch. Take the needle in through D, a point in line with C, and inside the first loop. Bring out the needle from E. Loop the blue thread around and pull it out. |
 |
 |
| Fig 5: To end the stitch, Just anchor down the pink thread with the blue thread as shown. Then, take down the pink thread through the fabric. | Fig 6: A row of this stitch would look like this. |
 Sarah has been researching and sharing hand embroidery lessons for over 17 years, making it accessible to everyone around the globe.


Are the pink threads on needles? The blue is, but how are the pink threads there?
The pink threads are brought out from the fabric and kept ready before working the chain stitch.
It’s so easy directions to follow.
Thank you so much for good instructions. Your stitch instructions are great inspirations for my designs.
Have a nice day 😀
Thank you for this thorough and lovely resource. I appreciate the beauty of the site, clarity of the instructions and quality photos. From a grateful beginner in Los Angeles, CA!
i saw Ur designs .these are awesome.can u teach me from step one ,how to make embroidery .pls if, yes then give me ur add & contact no.
my no is 9922901632
Mrs. Devashri Pandit,
I happy to see your enthusiasm. I take classes in Pune (pashan). So, if you are able to make it to my classes, I can teach embroidery from the beginning. Once my workshop is set, I can contact you at your number.
Hi Sarah
Your blog is very informative. Although I know number of stitches, after visiting your blog only I know that each stitch has lot of variations and give another beautiful stitch. Your pictures are very clear and self explanatory as well. You are doing a great job! I don’t have enough words to appreciate your efforts. I am from Sri Lanka and classes are are not
available everywhere. Your instructions are very helpful. I hope you will keep your blog always open to everybody.
Hi sarah,
Im Bangladeshi. I see your embroidery. It is too much beautiful. I learn your embroidery but i dont know where ur living. Im too much like this and my wish learn it. but where are u and i dont know your address. Please send your address and mob no and your everything.
Thank you
regards
Ashrafi
Hi Sarah
I am visiting your site for the first time. I would take to take up hand embroidery as my hobby.I am going to try for the first time. Please suggest what is the best way to practice since i am residing in Singapore. Also suggest required materials for practicing embroidery from the beginning. I could see needles are required, apart from that should i get the embroidery tool kit ( frame and other materials ). Would be great if you can please list them in detail.
Thank You
Regards,
Sowndarya.
Dear Sarah
Hi!!!
Actually your explanation is very good. Do you conduct classes for the same in Mumbai ? please advise as would love to attend the same.
Thanks Nikita.
I do not conduct classes in Mumbai. But if I ever (very less chance) that I am there fro any class, I will let know. 🙂
Hello Sarah,
Would you be able to tell what kind of embroidery stitches are used in the attached picture.

Thanks
Dear Alex,
This looks like rope stitch.
https://www.embroidery.rocksea.org/stitch/chain-stitch/rope-stitch/
Wow its really very nice and attractive trick the tutorials are so good to learn
Hey just wanted to show you an embroidery that I am working on that I could not have done without your site. It is not finished yet, but hopefully will be soon. It is of Little Red Riding Hood and the wolf. I got the design from urbanthreads.com
Dear Lily,
Thank you for sharing this lovely pattern with us, though not finished. 🙂
It looks really nice to me, and at a glance it looked as if it was machine done! Please do share the finished picture with us, we would love to see it.