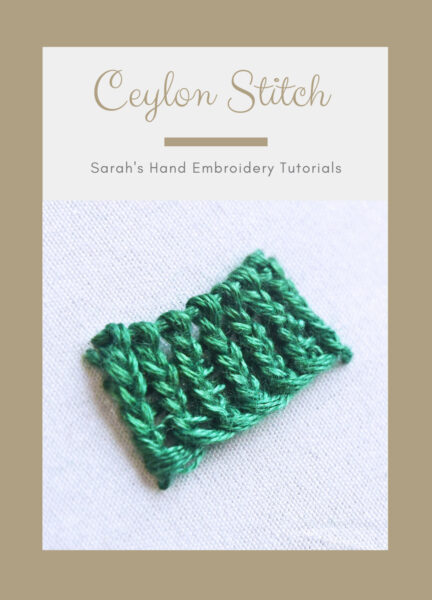
Ceylon Stitch is also known as
Puntada de Ceilán [ES], Ceylon-Stich [DE], Ponto de Ceilão [PT].
How to do the Ceylon Stitch
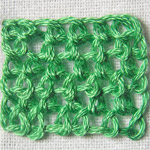
The Ceylon Stitch is similar to the Detached Buttonhole Stitch. The slight difference is in how the stitches are attached to each other. Instead of connecting them on the longer side, we loop around each intersecting part. The result is a piece that looks like knitted work. Unlike in the Detached Buttonhole Stitch, I will work from top to bottom. My stitch will flow from left to right. You need to know the Blanket Stitch to continue with this tutorial.
 |
 |
| Fig 1: Start by making a bar or a straight stitch that defines the width of your pattern. |
Fig 2: Start working close Blanket Stitches over this Straight Stitch without plucking the fabric underneath. |
 |
 |
| Fig 3: Work till the end of the line. I have not really left much gap between each Blanket Stitch, but I have left enough space to make sure I can take my needle through it. | Fig 4: End the row by passing the needle through the fabric. You would do this for each new row. |
 |
 |
| Fig 5: Start a new row on the left end. Now, pass the needle under each intersection (the ‘X’ part) of the previous row, as shown. Pass the needle through the fabric when you reach the end of the row. | Fig 6: Continue with this process making multiple rows, and you will see the pattern emerging, reminding you highly of a knitted piece of work. |
Learn this stitch along with 305 other stitches from our 600-page eBook.
Related Stitches from the Blanket Stitch Family






 Sarah has been researching and sharing hand embroidery lessons for over 17 years, making it accessible to everyone around the globe.


I know the open buttonhole filling stitch can be done in the round, but can’t find any instruction online for the ceylon filling stitch done in the round. Would it be the same technique as open buttonhole filling?
Hi C,
The Ceylon Stitch in the round…do you mean to ask how to work the stitch in a circle shape? You probably want to start with a foundation using the Back stitch on the top curve of the circle. Use this foundation to work the stitch downwards. Honestly, I am yet to try. I know the bottom might get a bit tricky…maybe I can update once I try it out. 🙂
Thank you Sarah. I’m looking forward to the New year, hoping it will be better for the whole world.
I love the Antwerp Stitch as it adds so much more interest to projects! I used it along the edge of a blanket instead of the plain blanket stitch and am so pleased with the way it turned out. Thank you for taking the time to show us this stitch.
Yvonne
Thank you,Yvonne. So happy to know that you tried out a beautiful variation of the Blanket Stitch and loved it.
I do not think I have made Ceylon stitch before. I have done little needlework for months but hope to catch up in 2022. Thank you for sharing all the stitches.
Wishing you and your family good health, safety and much happiness in 2022
Definitely! I hope you do a lot of beautiful stitches that bring you joy in 2022. Have a healthful and beautiful new year.❤️