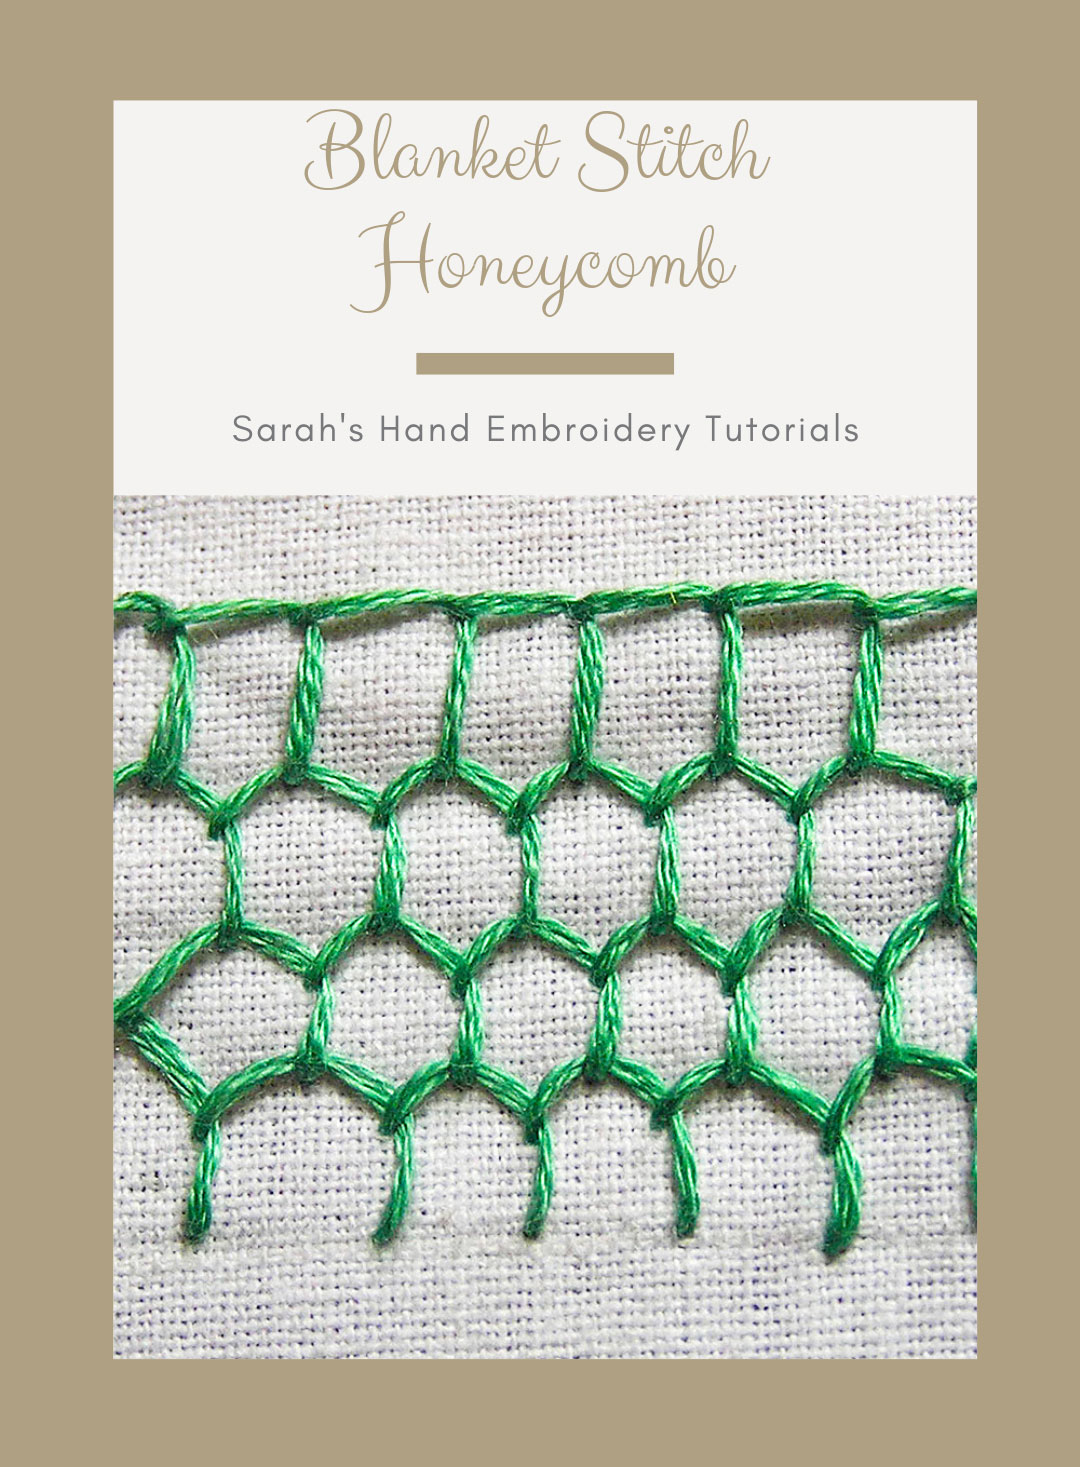
Blanket Stitch Honeycomb is also known as
Honeycomb Filling [EN]
About the Blanket Stitch Honeycomb
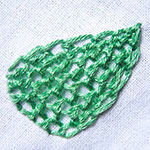
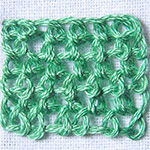
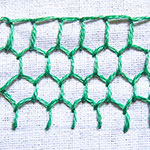
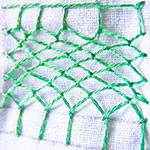
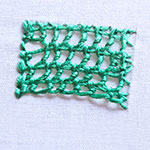
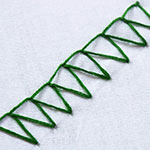
This is a decorative variation of Blanket Stitch that takes the form of a honeycomb. It can be used as a filling stitch, especially on larger surfaces. Learn the Blanket Stitch, if you don’t know it, to understand this tutorial better.
How to do the Blanket Stitch Honeycomb
I will work between a series of horizontally parallel stitch lines A, B, C, D, and E to illustrate the honeycomb properly.
 |
 |
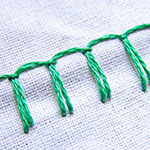
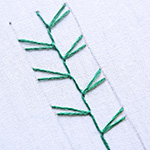
| Fig 1: Make a row of Blanket Stitch between the stitch lines A and B. The subsequent rows of blanket stitches will fall between the stitch lines. So, next, bring out the needle between the stitch lines B and C, as shown. | Fig 2: Now, for the next row of Blanket Stitch, take the needle under the previous vertical stitch, as shown. Do not pluck the fabric. |
 |
 |
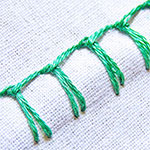
| Fig 3: Now, continue with the blanket stitch process. Make sure to alternate the vertical stitches between the vertical stitches of the previous row. | Fig 4: The third row will begin like the first row. Three rows later, the pattern will start looking like this. |
 |
|
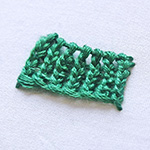
| Fig 5: A finished section of the blanket stitch honeycomb will look like this. |
Learn to do Blanket Stitch Honeycomb in 2 minutes!
Learn this stitch along with 305 other stitches from our 600-page eBook.
Related Stitches from the Blanket Stitch Family
|
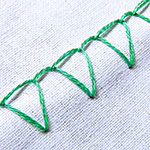
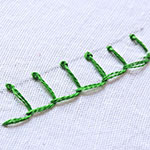
Raised Blanket Stitch
|
||
|
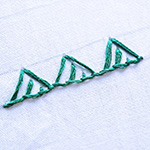
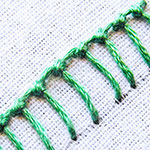
Knotted Blanket
|
||


 Sarah has been researching and sharing hand embroidery lessons for over 17 years, making it accessible to everyone around the globe.


Hi Sarah,

Ur work is simply superb!!!
Today I tried this stitch…somewhere I went wrong..and it didn’t look like the one as shown.can u help me please…
the difference is the width i think…
You are supposed to alternate putting your needle between the two lines and on the line. 🙂
Thank you so much. First time at site. Helped so much!
I referenced you for an Instagram embroidery challenge that I facilitate. Thank you so much for this tutorial. Your website is incredibly helpful.
I love you. I’ve recently fallen off the wagon and rekindled my embroidery addiction. This is a wonderful site that has a lot more stitches than my books. Look out family, mommy’s not going to get much housework done for awhile!
Thank you so much for such a great site i have only just started hand sewing and your instructions are so easy to follow all the hard work is very appreciated, thanks janet x
dear sarah, this is a very useful site. you have done a good effort.
u have a wonderful job,very clear teaching keep it up. can u upload few of ur sample motifs on garment,then it will be good for projects too.
dear sarah dis s d stitch i was searchng for long tym.thank u so much….i wnt to aask u 1 thing…is der any other stitches which luk like a mesh/net?herewth im attaching a piture…cn u tell me wat s the stich /work used in golden colour.
Thank you. Excellent!
Gr8 work !!! such a lovely site. I appreciate all the work u have put. Hats off !! for u.
Hi Maria ,
How are you doing ??? I hope you doing good.
I would like to know do you know any institute where they will teach tailoring ( you can stitch your own salwars and blouses do embroidery on sarees etc) in kottayam. If so let me know . Thankyou. God bless.
Regards
With prayers
anju
Dear Anju,
We are fine. 🙂
I have no idea about the institutes in Kottayam. However, I might be able to suggest you an institute called Kalagram in Pala (Kottayam dist.).
wow… superb… i liked this stitch
—
pls watch this…
http://www.youtube.com/watch?v=az1u6y9cpWA&feature=related
Dear Jisha,
We are shocked that someone has put so much effort in using our copywrited material to make a youtube video. Thanks for informing us about it. Let us see what can be done.
I´m stunned by all the work you´ve put in to this website!
It´s so very useful and inspiring.
I´ve just finished my Birgitta coif (all made by hand) with Herringbonestiches in white and brown. It turned out really nice.
Many thanks for sharing your skills with the rest of us!
Edla Saga 🙂
Dear Edla,
Thanks. It will be really nice if you could upload a pictue or two of your work with the herringbone stitch. It will be an inspiration to the others. You can use the function just below the comment box to upload your pictures. 🙂
Hey, this really very nice 🙂
Wow…!! Excellent..!!!