Different kinds of tracing and transferring tools in hand embroidery
Most of us wonder how to get patterns over the fabric or any base to start working our hand embroidery stitches. Some of us are good at making our own patterns. Certain pens or pencils will work for them. Some others like to use patterns from books or the internet. They need to use transferring tools for that. I will show you what are the common tracing and transferring tools used in hand embroidery. You are welcome to add more in the comment section and I will update this page with that information with the credit to you.
 |
 |
| Pencil: A pencil can be used directly over your fabric. Use a slightly blunt pencil to avoid piercing into the fabric, and keep it light. Use it for patterns with simple and minimal strokes to avoid mistakes and drawing over. Drawing after mounting the fabric on a hoop will be more comfortable. | Water-soluble pen: This tool is great if you want to wash away the traces. Draw directly over the fabric using this pen. The trace would stay for a long time to allow you to finish your stitching. Then, just wash it in cold water and mild soap to get rid of the traces. You can afford to make slight mistakes as the strokes can be washed off. Drawing after mounting the fabric on a hoop will be more comfortable. |
| Air-soluble pen: This tool works great for small projects that you do not intend to wash. Draw directly over the fabric and start stitching. Ensure to finish the project in 2 or 3 days as the ink tends to disappear completely by the end of 3 days.
Heat-erasable pen: This tool is a wonder. It stays for a long time on the fabric and erases with the application of heat. Draw or trace directly over the fabric using this pen, and start stitching. Once done, run a mildly hot iron over the fabric and see the ink disappear magically. |
|
 |
 |
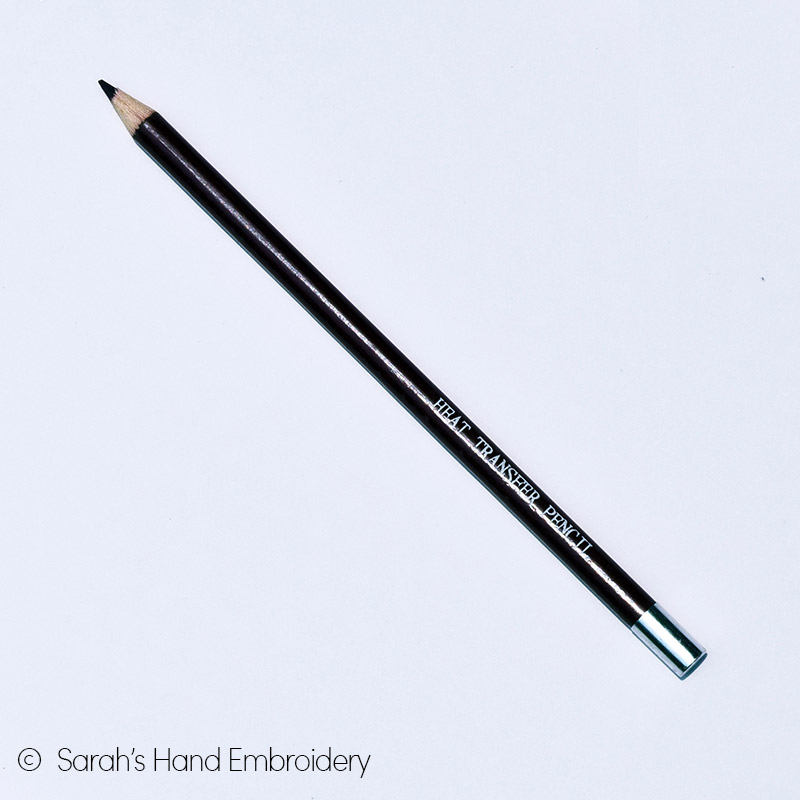
| Iron transfer pencil: This is a great way to transfer patterns. Draw or trace a pattern over the paper using the iron transfer pencil. Then, place the pattern faced down on the fabric and run a hot iron over it. The pattern on the paper gets transferred onto the fabric! Note that the pattern will be reversed when transferred. So, you might want to draw the pattern in reverse to get it right on the fabric. | Tailor’s chalk: This tool has been traditionally used by tailors to mark their cutting lines on the fabric. These chalks are available in the form of pencils too, making them useable for embroidery pattern making too. It comes in various colors and so, can be used to mark over dark fabric too. It can come off easily and might require remarking. It can be washed off easily too. I suggest using the Tailor’s chalk on larger patterns and geometric designs. Avoid using it on patterns with a lot of details. |
 |
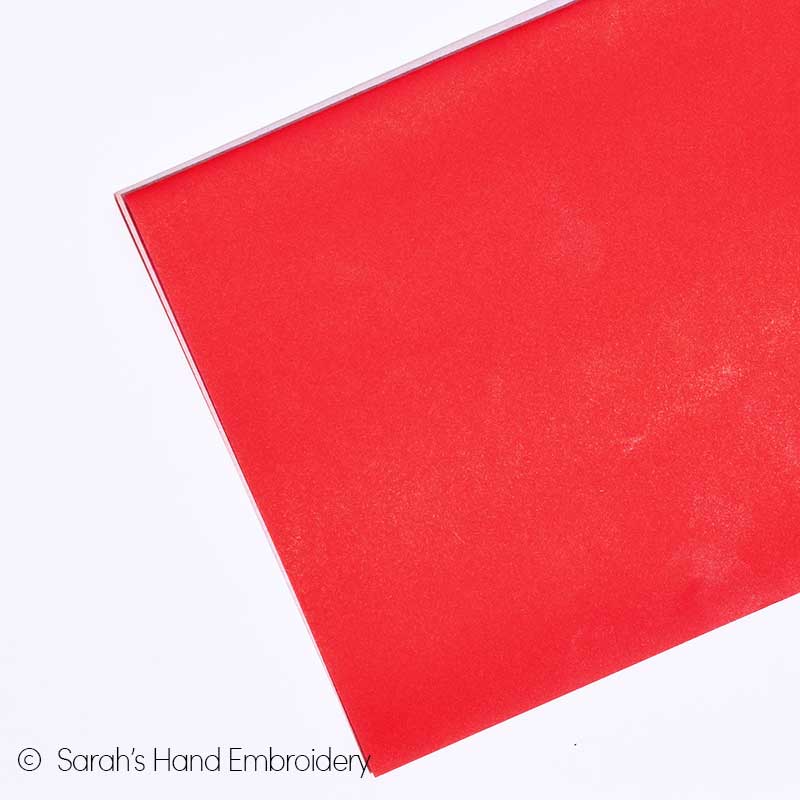
Graphite Sheets: This is a great way to transfer patterns onto the fabric. Trace, draw, or print the desired pattern onto paper. Then, transfer the pattern onto the fabric with the use of graphite or carbon sheets. They come in various colors, like red, blue, or even white. Sometimes, you can reuse the sheets! |
| Lightbox or window: This is a clever way to transfer your pattern onto the fabric. Place the fabric over the pattern and pin them together. Hold it against a glass window that is well light so that the light shines through. Use a pencil or one of the drawing tools to trace the pattern, that is showing through, over the fabric. If you do not have a well-lit window or you usually work during the night, a lightbox will help you with the technique. | |
Buy these transferring tools from Amazon:
- Water-soluble Pen.
- Air-soluble Pen.
- Heat-erasable Pen.
- Heat-Transfer Pencil.
- Dressmakers Pencil.
- Graphite Sheets.
Learn more about the tools used in Hand Embroidery along with 306 stitches from our 600-page eBook!


Hi Sara, I need your help. I had to transfer grids on denim but it’s not so easy.
Hi Luana,
There is something called the Sulky fabri-solvy sheets that can be used to print grids on. You can then place on the denim and stitch over them. Once done, just wash it off and the sulky fabri-solvy will dissolve away. I am not sure if this product or something similar is available in France. Please check online.
If the grids are not small and are big enough, you can use the graphite sheet to transfer the grids to the denim. Or, maybe draw directly using a water-soluble pen.
gain……….I THANK YOU FOR BEING HERE. YOU ARE FULL OF GOOD AND HELPFUL INFORMATION. I purchased the water soluble pens because I’m always either adding or subtracting from my initial picture. Your wisdom and sharing is time saving – and GREAT. HAVE A GREAT DAY……….OH! IF IT COMES UP….Here is my latest cougar.
I love the book I ordered but what about stitching letters can you give some help with that?
Hi Shelley,
There are some stitches that are absolutely wonderful for stitching letters. The Back Stitch, Stem Stitch, Whipped Back Stitch, Whipped Running Stitch, Chain Stitch, Whipped Chain Stitch, are some of the more popular ones. You can look for these stitches in my picture dictionary.
I am yet to make a post on how to do letters, though it has been on my list for quite a long time. I feel encouraged by you to do a couple of posts! 🙂 Thank you!
Sarah:
I mainly use my light box but the Sulky Sticky Fabr-Solvy sure sounds like a winner!
Any ideas where one can purchase it?
thank y for all your great post
Yvonne
If you use Amazon, you can check this: https://amzn.to/3fMv0Ci for the Sulky Sticky Fabri Solvy. 🙂
Nice
Thank you, Saroja!
THIS IS GREAT NEWS. I did not know about these and will be getting a ‘water soluble pen. What I have done is use regular pen and then, I find out I do not want some of the lines I’ve drawn so…………..I’ve hanged my embroidery to cover the lines THIS IS GREAT NEWS THANKS AGAIN, VERY MUCH FOR BEING THERE FOR ME. I’m trying to download a of my tiger. The green you see is what I did to coverup…………….well………again I can not put this in Your comments said “It only downloads images. An image is what I was trying to download..
Thank you for sharing your beautiful works, Sylvia! I see the cover-up. A tip: Never use a regular pen or permanent markers on your fabric. I have made that mistake too. I am glad that you discovered the water-soluble pen.
Thank you Sarah, for the information. I have 4 of the above and use them often. Some of the tools I have not heard of before.
I love to use heat-erasable pens to draw and the light-box methods to trace. For a long time, I was a fan of the graphite sheet method (even now, I guess!). 😀
Thanks I am new to embroidery and love your stich videos and hints to make it easier for us all
Thank you, Gail. Soon, we will be preparing to start a series of stitch videos- hope you enjoy them.
hey I am jessica keefer
Hi Jessica!
I use Sulky Sticky Fabri-Solvy. I print the embroidery pattern on a sheet of fabri-solvy using an inkjet printer. Then I peel back the paper and attach it to the front of the fabric just by pressing by hand because it is lightly fusible. After embroidering, I rinse the project under tap water. The fusible washes away leaving me with a completely embroidered project. I used it for the first time when I sewed this free block by Bunny Hill Designs.


Wow! Thank you, Josefina, for talking about the Fabri-Solvy. I have not used it myself, but it sounds fun to use! I love the idea that you can just print out the pattern onto the sheet and start stitching right away- no trace marks on the fabric! Love the pattern and how it turned out. 🙂
Thank you Sarah, I appreciate all your messages with such valuable info related to embroidery, but so useful for other handwork we all tend to do.
☺️ always happy to share, Velia.