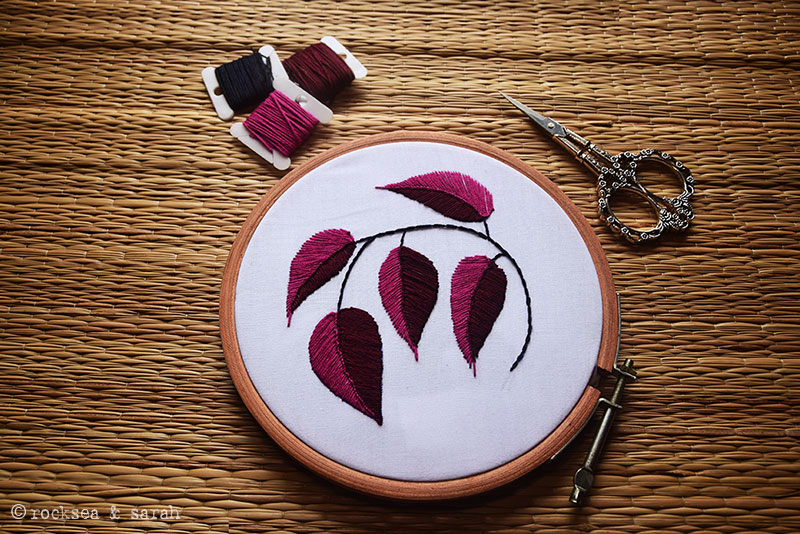
Stitch leaves using the Single Feather Stitch.
|
The Single Feather Stitch can be a wonderful way to fill in patterns and not just good for stitching the edges. This pattern is inspired by the purple plum tree leaves. The Single Feather Stitch is a looped stitch and a relative of the Blanket Stitch, but with an ‘angle’. This ‘angle’ helps it in creating a great texture for leaf patterns. Keeping the closed end of the stitch on the spine of the leaf creates a ridge, that can add to the visual effect. I have used a ‘closed’ version of this stitch to fill in the laves without any gaps. But, you can always space the stitches and try your own variation!
 |  |
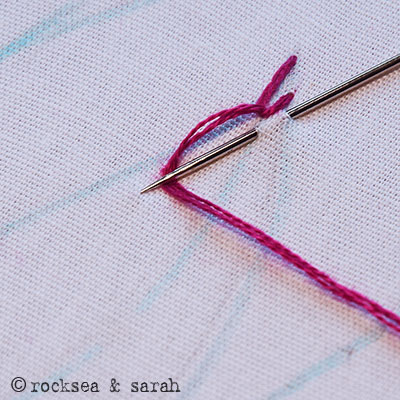
| Fig 1: Get your fabric, hoop, and threads ready. | Fig 2: Begin the Single Feather Stitch. Start from the tapering end of the leaf. This helps in deciding the ‘angle’ you like. |
 |  |
| Fig 3: When you start with the right side of the leaf, you work the stitch from right to left. | Fig 4: It is the needle that decides the angle of the stitch. So, place your needle in the desired angle always. |
 |  |
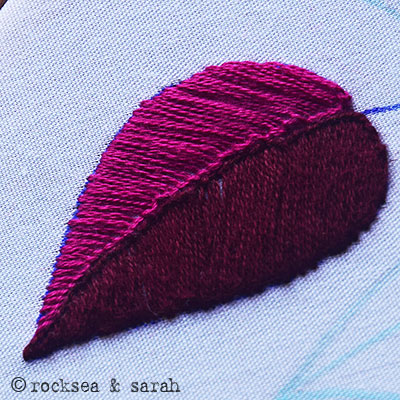
| Fig 5: Since the outer edge of the leaf is curved, it has more area than the inner line. So, to maintain the ‘angle’, you might have to space out the stitches on the inner line just a little bit, every time. | Fig 6: A finished portion looks like this. Notice how the stitch has made the spine of the leaf in the center. |
 |  |
| Fig 7: Now start filling the other side. Again, you will begin from the tapering end of the leaf, but this time you work the stitch from left to right. | Fig 8: A finished leaf looks like this. The spine of the leaf is subtly prominent. |
 |  |
| Fig 9: All leaves are finished! | Fig 10: Add the stem. I have used the Stem Stitch for it. |
TIPS to make your leaf beautiful:
- Start the stitch from the tapering end of the leaf. Make the first stitch long.
- Gauge the desired angle you want the stitch to be in using the needle you are working with.
- Keep the closed end of the stitch on the inside of the leaf to create a subtly prominent spine.
- Make sure you are keeping the ‘angle’ of the stitch by adjusting the spacing between each stitch, every time you stitch.

 Sarah has been researching and sharing hand embroidery lessons for over 17 years, making it accessible to everyone around the globe.


Genial, Sarah, me encanta el movimiento que imprime a la hoja este punto! Gracias por compartir!
¡Muchas gracias!
Beautiful. I’ll give it a try. Thank you Sarah.
Sure, Ghaniyah. Hope you enjoy working with this stitch. ☺️
Thats stunning
Thanks, Joy. ☺️