Stitch leaves using the Padded Satin Stitch.
|
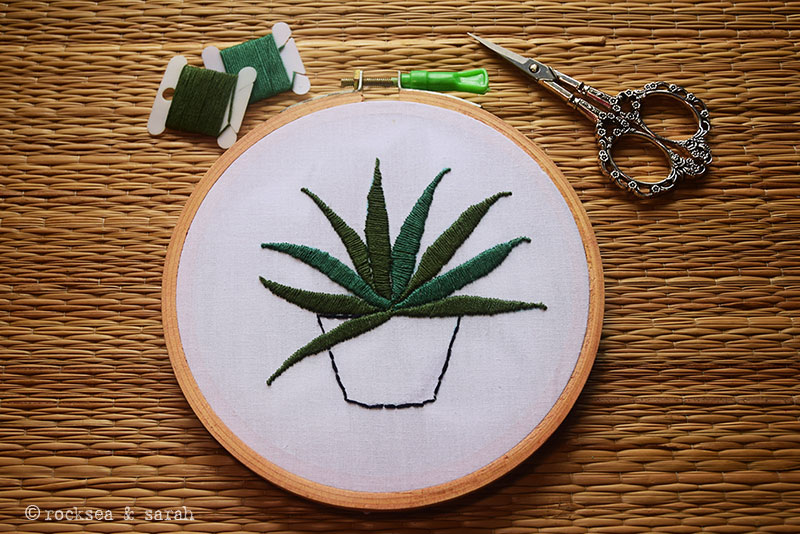
When I planned to do a leaf with the Padded Satin Stitch, the aloe vera plant came to my mind instantly. Its fleshy succulent leaves can be perfectly depicted using this padded stitch. So, yes, the Padded Satin Stitch can be great to make succulent leaves! Two shades of dark greens have been used to work on this pattern inspired by an actual aloe vera plant we have at home. A slightly time-consuming stitch, but beautiful and satisfying.
 | 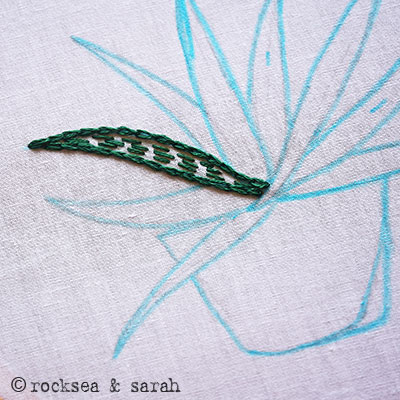 |
| Fig 1: Get your fabric, hoops, and threads ready. I have marked the leaves for the Padded Satin Stitch. | Fig 2: Start by outlining the leaves with the Chain Stitch and filling in with any other stitch. I have used the Running Stitch. |
 |  |
| Fig 3: I then start stitching the Satin stitch over the ‘padding’ I made. The stitches should fall outside the stitch made on the outline. Keep the side from where you bring out the needle facing you. | Fig 4: I filled in all the leaves with the padding first, then started to stitch the Satin Stitch. Halfway through, this is how my plant looks like. |
 | 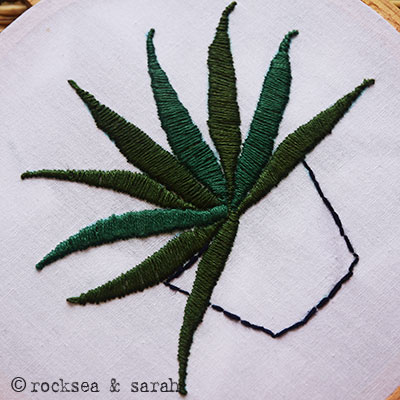 |
| Fig 5: All finished. It took a while, but so worth it! | Fig 6: I added the pot with the Back Stitch done a bit ruggedly. |
Tips to make your embroidered flower beautiful
- When stitching the Satin Stitch, face that side of the leaf towards you from where you are bringing out the needle. This helps in keeping the edges neat.
- Keep the stitches used for padding and the satin stitch in the same color, so that they don’t reveal through any accidental gaps.
- Start from the broader end and work towards the tapering end.
Related Projects

 Sarah has been researching and sharing hand embroidery lessons for over 17 years, making it accessible to everyone around the globe.



Great.
Thank yoy
Always a pleasure!
beautiful will add to my collection
😊👍