How to do Bead Embroidery with the Buttonhole Bar Stitch
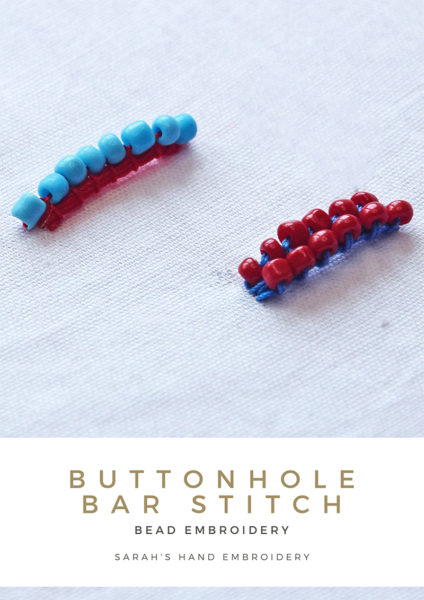
The Buttonhole Bar Stitch is a dimensional stitch in itself. Adding beads to it rises its height and lends a textural effect to it. You can use this kind of beading in dimensional embroidery and even for functional purposes. For instance, if you want to make a decorative hoop, maybe to slip your slim belt through, this would make a fantastic option. What else can you think of? Share with us in the comments and let us know!
Sample 1: Beads in a row
 |  |
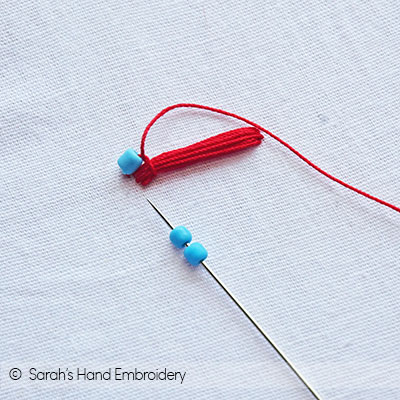
| Fig 1: Make layers of Straight Stitches between two points. | Fig 2: Now, come out right next to the bunch of stitches and slip in a bead. |
 |  |
| Fig 3: Push the bead down to the base. Pass the needle under the layers of stitch and loop the thread under the needle, as shown. | Fig 4: Pull the needle out to secure the bead on top of the layers of stitches. You can also try this with two beads. I personally, prefer taking one bead at a time. |
 |  |
| Fig 5: When you reach the end, pass the needle through the fabric and knot it at the back. | Fig 6: This variation of the Buttonhole Bar Bead Embroidery looks pretty. |
Sample 1: Beads in two rows
 |  |
| Fig 1: Begin by making layers of Straight Stitches between two stitch points. | Fig 2: Next, slip in two beads. |
 |  |
| Fig 3: Now, push one of the beads to the base. Pass the needle under the layers of stitches and loop the thread under it, as shown. The other bead will remain on the right side of the needle. | Fig 4: Pull out the needle to secure the beads on either side of the stitch. |
 |  |
| Fig 5: Continue with this process to make two rows of beads over the layers of stitches. | Fig 6: This variation is thicker than the earlier one and looks richer! |
Stitch used in this project

 Sarah has been researching and sharing hand embroidery lessons for over 17 years, making it accessible to everyone around the globe.


I like this. I can certainly use this for a variety of purposes mostly for decorative purposes as I love bead embroidery.
Awesome! I would love to know how it turned out for you.
This one is different. I must try it soon.
Definitely!